Posts Tagged ‘Landscapes’
Exposure Blending for Landscape Photography
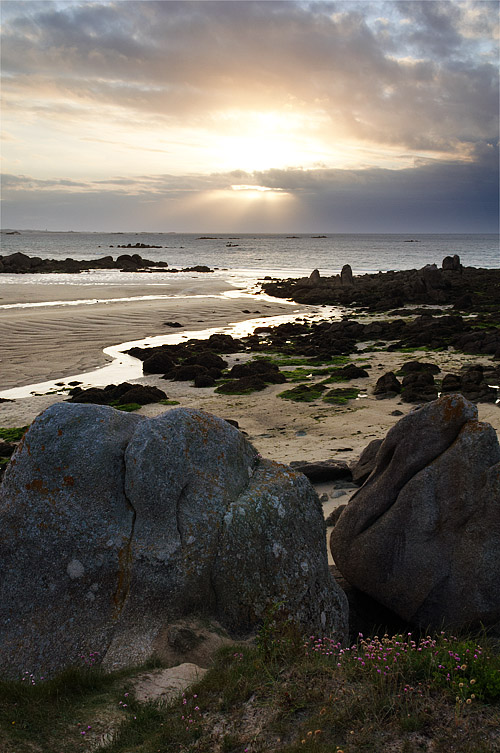
If you’ve just started out in landscape photography, you will probably have noticed an annoying problem. When you take a photo, either the sky is nicely exposed but the ground is too dark, or the ground is nicely exposed and the sky is blown out.
The problem is that cameras have a low dynamic range. Dynamic range is the range of light the camera can record at once. Your eyes (or more accurately, your brain) have much better dynamic range – you can happily see the sky and ground in all but the brightest light.
There are various strategies for overcoming the problem of limited dynamic range. The traditional solution is to use graduated neutral density filters. These are rectangular filters that are clear at the bottom but get gradually darker towards the top. When placed in front of the lens, they limit some of the light coming from the top of the shot (i.e. the sky), so you can expose for the ground without blowing out the sky.
A cheaper solution along similar lines is the black card technique. I’ve already detailed this technique in an answer to this question, so head on over and see what it’s all about.
Another solution is HDR – High Dynamic Range – which involves blending multiple exposures together. However, there are some drawbacks. For best results you need dedicated software like Photomatix, and getting good, natural results can be tricky; there is a lot of overdone HDR photography out there.
The method I usually use is Exposure Blending – blending two exposures together in software like Photoshop or GIMP – as it is quick and gives good, natural results. Here’s how it’s done.
Take Your Shot(s)
The first thing you need to do is take your photographs. It is always best to shoot in raw mode, because you have far more latitude for editing; it’s especially useful when blending exposures. Depending on how strong the difference in the light level is between the sky and ground, you can either take two shots or one. For shots where the sky is especially bright, take two shots, using your camera’s spot metering mode to expose for the sky and ground separately.
If the difference isn’t too great, say 1 exposure stop, you will likely be able to get away with one shot, and here’s where shooting raw comes in handy – you can simply adjust the exposure in post to generate two shots.
You should really be using a tripod for your landscape shots anyway, but it is more or less essential for exposure blended shots as you can’t have any difference in the composition of the skyline. If you have a steady hand and a fast enough shutter speed you can just about get away with taking two shots in quick succession using continuous shooting mode, but ideally – use a tripod.
Process Your Shots
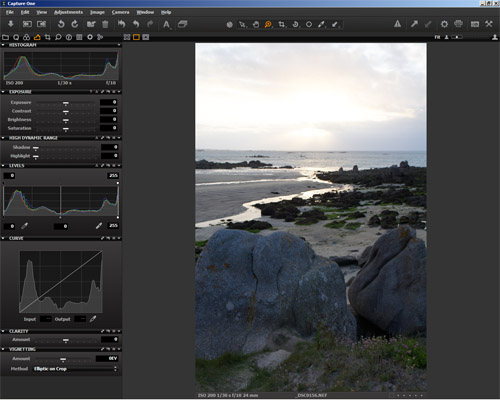
- Processing the ‘ground’ raw file. Note how the sky is blown out.

Once you’ve got your shots, open them in your raw processor and adjust them. Remember that you are only concentrating on one part of the shot, depending on which photo you’re looking at, so just concentrate on getting the sky looking good in the sky shot (the ground will be dark) and the ground looking good in the ground shot (the sky will be blown out). If you’ve taken one shot, process for one element first, export the image, then process for the other element.
Once you’ve processed your shots, open them both in the editor itself. Now add one image to the other by dragging or copy-pasting; it doesn’t matter which one goes where, but the layers should line up, so turn on Snapping if it’s not on already. I usually drag the sky image on top of the ground image because it just makes more sense to me, and I’ll describe the process that way. I will give general instructions rather than application-specific, as all the functions are fairly basic.
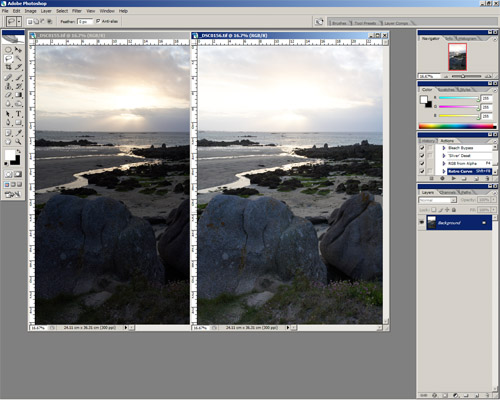
- The images ready to be composited – just drag and drop

So, you have a 2 layer image in front of you with the ‘sky’ layer on top. We now want to mask off the ground in this layer, so the properly exposed ‘ground’ layer is revealed underneath. You can do this however you like, but I usually grab the freehand Marquee tool and draw a rough line along the horizon and around any features like rocks, trees or buildings , then all around the edges (move the pointer outside the image itself to select right up to the edge). Then Feather the selection by about 150px to achieve a smooth transition between the sky and ground.
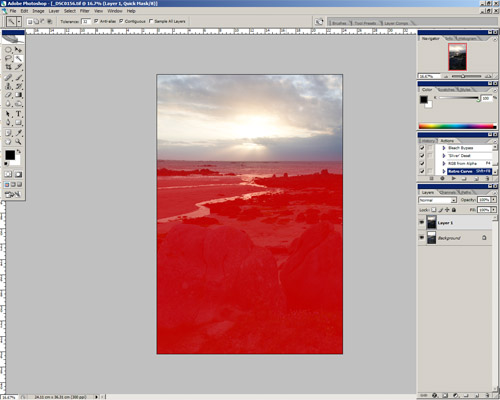
- Apply a mask to retain control of the different elements’ visibility

Now use this selection to create a new layer mask, and you should see that you have a balanced exposure throughout the shot. You can tweak the layer mask using brush tools in black or white. Because the sky and ground are on separate layers, you can also adjust contrast and sharpening of the two elements independently as well.
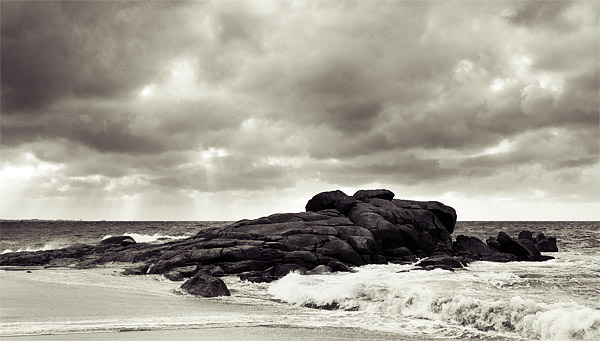
- The complete, composited image
